(And by popular demand, Baker Chic makes a comeback to teach the fine art of making a totally fabulous Chocolate Mousse!)

Totally off the topic for a moment, I just wanted to share that when I started on my journey of bakesploration, the one ingredient I’ve come to love is butter. Now butter has been getting a bad rap for years, because of the high fat content yadda yadda yadda… But I say pfft to that. If you think about it logically, if you bake a cake using butter as one of your ingredients, the amount of actual butter that you ingest is almost negligible considering it had to go into whole cake! So it only really becomes a problem when you eat the entire cake in one go. Actually in that instance, I don’t think butter is your problem *thortful face*.
OK, back to the business at hand. I am going to tell you about the most delicious chocolate mousse in the whole wide world! And I make it… No false modesty around here that’s for sure. People swear by all kinds of different kinds of mousse but I think I’ve tasted more bad mousse as opposed to good mousse. My pet hate is the chocolate cookie dough, which parades as mousse. And then there’s that chocolate pudding out of a box (I think I just threw up a bit in my mouth).
My other pet peeve is when a recipe says: use the GOOD cooking chocolate… Readers do not be fooled. That, right there, is an oxymoron. There is no such thing as GOOD cooking chocolate. They are all uniformly “not good”…
On the flip side, I have tasted some good store bought mousse and I would highly recommend the Woolworths one. It has a lovely taste without the stodgy texture while my only reservation is that it might just be slightly too “light” and airy. In my humble opinion, a mousse should have some body to go with all that chocolately flavour…
The trick with the rich flavour of a good chocolate mousse is the quality of your chocolate. So the better the quality, the better the flavour you get (step away from that cooking chocolate, PLEASE!). I haven’t tried this recipe with Lindt chocolate yet, but the theory should be sound. Instead, I use Cadbury’s plain chocolate because it has a rich flavour and a wonderful silky texture when it melts in your mouth. It is also hectically sweet, which isn’t necessarily a bad thing.
So… To the Mousse!!
This is one of the simplest recipes I have come across while providing an explosion of flavour.
Ingredients:
3 x whole eggs (use large… not jumbo eggs cos that’s just a whole lotta egg)
250g chocolate (only the good stuff)
1 box Orley whip (try not to use the lite option it doesn’t set as well as the normal ones)
Method:
Before you melt the chocolate, beat the three eggs together in a bowl and set aside till you need them.
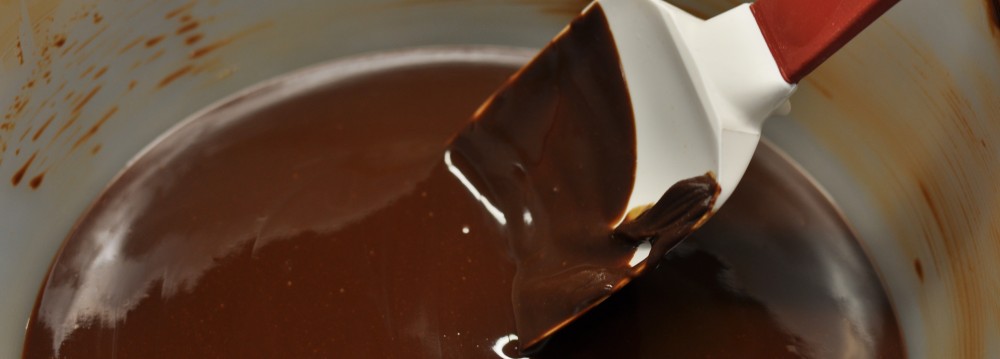
If you’ve read my previous post, you will know that I can’t be fussed with a double boiler so I melt my chocolate in the microwave. I break the whole block into little blocks and then pop it into the microwave (use the dish you’re going to mix all your ingredients in because you’ll lose volume of chocolate if you scrape it over into something else). I use about 40% of power and I watch it very carefully so that it doesn’t turn into a ball of mutant chocolate.

Once it comes out, keep stirring to get some air into the chocolate so that it can cool down from exceptionally hot to a temperature that won’t fry your eggs when you add them in. When the chocolate is sufficiently cooled down, pour the egg mixture in and stir like a demon till the egg has been incorporated into the chocolate (don’t do it bit by bit as it just makes the chocolate go manky and you’ll get lumps). It should be a nice smooth mixture at this point… not yet edible but nearly there. Make sure there are no clumpy bits floating about at this stage because they won’t go away later. They’ll haunt you like cellulite.

Set aside the chocolate egg and now you can beat your Orley Whip as per the instructions on the box. This also gives the chocolate time to cool down some more. Once the Orley Whip has been erm… whipped thoroughly, fold (FOLD!) the Orley Whip into the chocolate egg. This part will probably take the longest and will make your arm hurt if you’re not all buff and stuff. But please fold (usually figure eight style) and do not beat because then it will not set and just flop.

It now needs to go into the fridge to set.
Today though, I’ve decided to make individual servings with pistachio crumble (I shamelessly stole the recipe from Masterchef SA).

Ingredients:
75g Pistachio Nuts (Skinned)
100g Flour
75g Sugar
75 g Butter (wooohoo!!)
3ml Salt
Method:
Preheat the oven to 160 degrees.
Grind the flour and the nuts, together until fine.
Place butter and pistachio flour in a mixing bowl and rub together until it resembles breadcrumbs, add the sugar and salt.
Mix well. Do not over mix.
Sprinkle the crumble mixture evenly on a baking tray and bake in the oven for 10 minutes until golden brown.
Leave to cool.

One warning here though… use unsalted pistachios for this recipe. If you use the salted ones then don’t add more salt.
I then layered the mousse and crumble in a martini glass and popped them into the fridge to set over night.
Cover the glasses with some cling wrap or foil so that the mousse doesn’t pick up flavours from whatever’s in the fridge. The next day just before serving, I garnished it with some fruit to give some colour and height to the dessert. Unfortunately I didn’t get a picture as it disappeared before I could get that far. Don’t ask me where it went… one minute it was there and then poof! Empty glasses!

And there you have it. Simple, easy and very tasty chocolate mousse.
P.s… a digital scale is your friend!
(Baker Chic will be back soon with some new interesting ideas, so stay tuned for her next post – Chef M)
